iOS
This guide will show you how to implement the user authentication in a iOS application . For this tutorial, we will use the iOS demo from GitHub and show you step by step how to run it.
Prerequisite
This tutorial assumes you have:
Setup Your Dashboard
Get your credentials and whitelist your application domain as explained in this section. This is a mandatory step to successfully implement and run the demo.
Generate SOTT You need to pass the SOTT value at the time of registration and you can generate this by dashboard.
Open dashboard, click on "Configure Your Application" and open Mobile SOTT . Now set the time according to the requirement and generate SOTT.

Start with demo
You can clone the demo repository on your system using below commands:
With SSH
git clone git@github.com:LoginRadius/ios-sdk.gitWith https
git clone https://github.com/LoginRadius/ios-sdk.gitNow install demo in your Xcode Studio.
Install the SDK via CocoaPods
To create Pod file run the following command in terminal
$ pod initTo integrate LoginRadiusSDK into your Xcode project using CocoaPods, specify it in your Podfile:
  source 'https://github.com/CocoaPods/Specs.git'
  platform :ios, '9.0'

  target 'TargetName' do
  pod 'LoginRadiusSDK', '~> 5.4.1'
  end
Then, run the following command:
pod install- Create a plist file named LoginRadius.plist and add the following code.
  <key>apiKey</key>
  <string>Enter your loginradius api key</string>
  <key>siteName</key>
<string>Enter your loginradius site name</string>- In Xcode, right-click on your project's .plist file and select Open As -> Source Code.Default plist is usually your Info.plist file
- Insert the value for url scheme with this.
<Your site name>.<Your Bundle Identifier>- Run your project
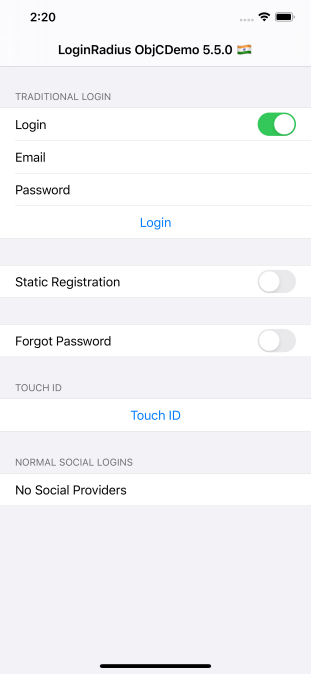
Features implemented in demo
- Login
- Registration
- Email Verification
- Forgot Password
- Reset Password
Discover More
Discover More on
- Add/Update Email Templates
- Customize Your Login Page
- Work with SOTT
How To Guides
- Implement SMTP Configuration
- Implement Social Login